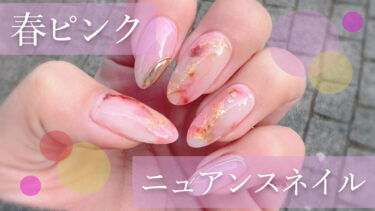

I replaced my nails that were four weeks old.
I’ll show you all the changes I made to my nails after 4 weeks. The weather is still cold, but my nails are spring pink and warm…handsome!
I’ll show you the whole process from off to on, so please take a look!
*This blog is written by a manicurist in Japan. The information contained in this article is available in Japan. Please note that it may be different in other countries.
The nail tools I used this time
Other than the basic tools (files, gauze, brushes, etc.), here is what I used
Seria gel(Japanese 100yen shop)
- Smokey pink
- white
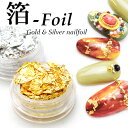
Foil (gold leaf)
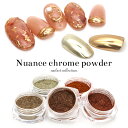
Mirror Powder
nail ink
Nail ink is something you can easily use to create nuanced nails just by dabbing. This time I used red, brown, and clear.

I’ll show you the entire replacement.
Now let’s see how the replacement looks!
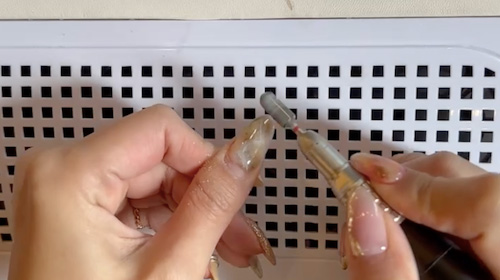
Remove
The machine will take them off at once.
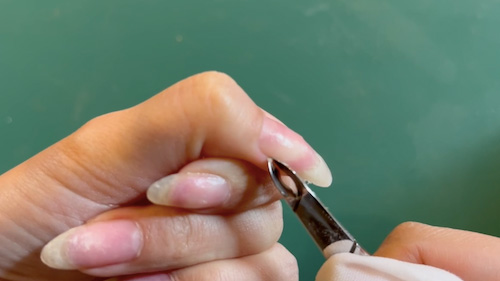
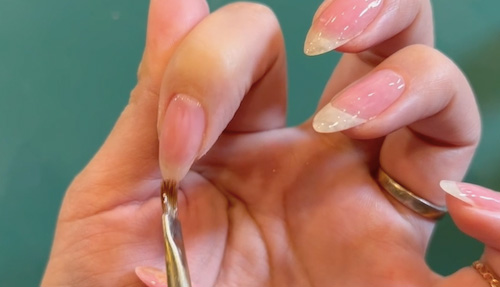
Cuticle treatment
Blister the cuticle and push up the cuticle with a metal pusher.
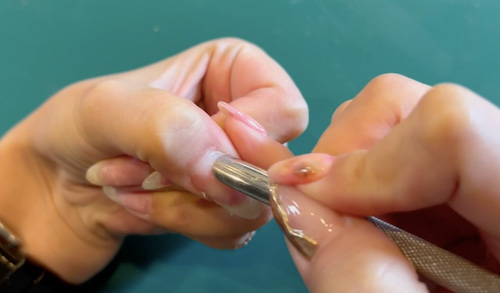
When the cuticle is pushed up, use gauze and nippers to clean the cuticle.
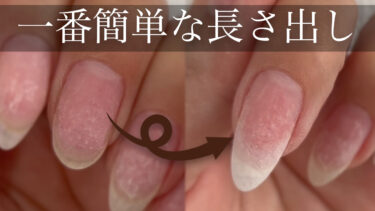
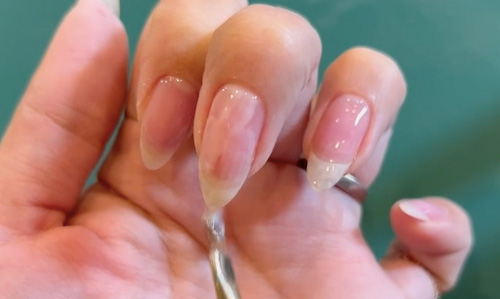
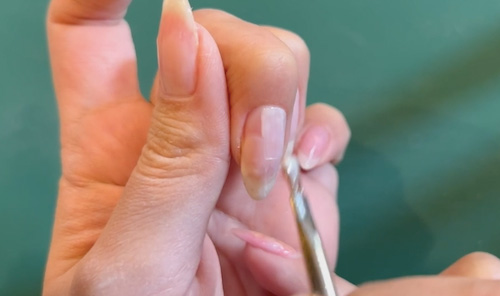
Shaping nails
Shape the nails.
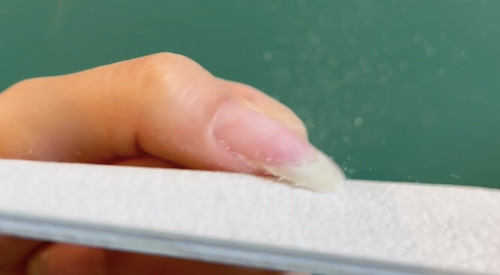
When the shape is ready, use a sponge buffer to remove burrs and smooth out the shaved cross section.
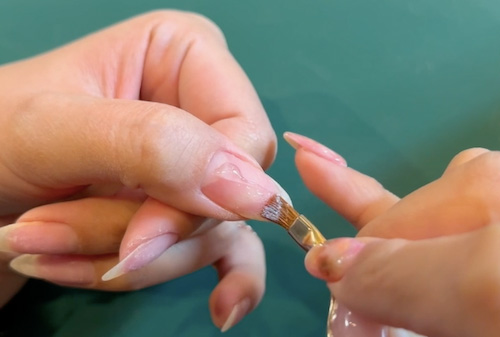
Pre-Primer
Apply pre-primer to remove moisture and oil from the nail surface.
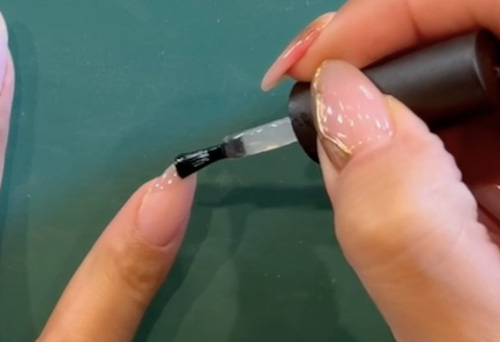
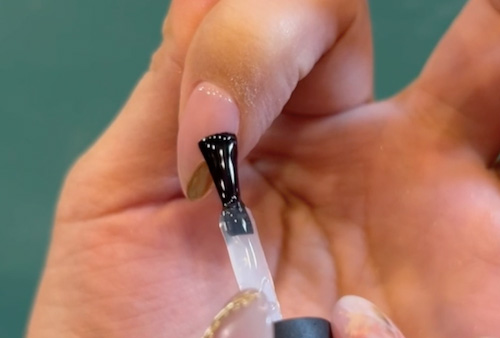
Base Gel
After the pre-primer has dried, apply the base gel.
Curing.
Here’s the base gel I’m using⇓
Color gels
Mix Seria’s Smoky Pink with the base gel to create a transparent color.
Apply the color to the index finger and pinky finger.
Mix the same white from Seria with the base gel to create a transparent white.
Apply it to the middle finger, ring finger and thumb. Apply to the middle finger, ring finger and thumb, not all over.
Curing.
Two-coats
Apply two coats of each.
Curing
point color
Apply smoky pink to the areas of the thumb, middle finger and ring finger that have not been painted white.
Curing.
Bese gel
Apply base gel to all fingers.
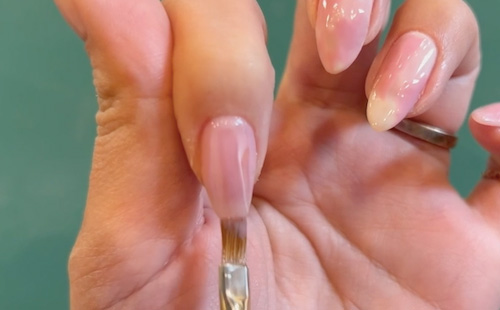
Curing.
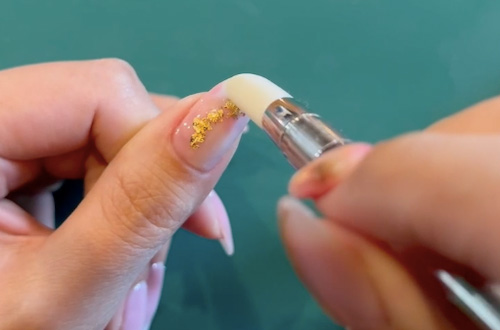
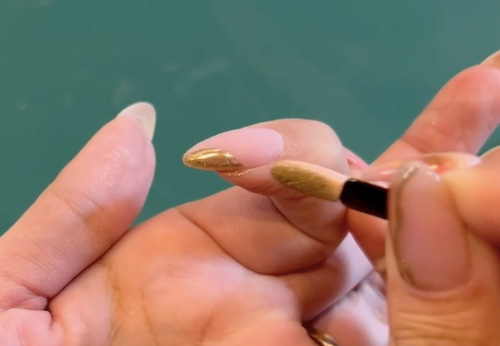
Foil (gold leaf)
Place foil (gold leaf) on the thumb, middle finger, and ring finger. It’s OK to use whatever you like.
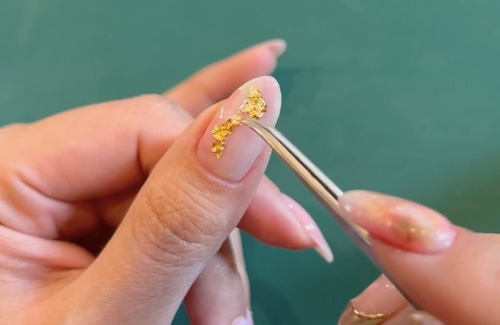
When you’re done, use a silicone stick to press and shape it.
Bese gel
Put the base gel on top and cover the foil (gold leaf).
Curing.
Top gel
Apply non-wiping top gel to all fingers.
Curing.
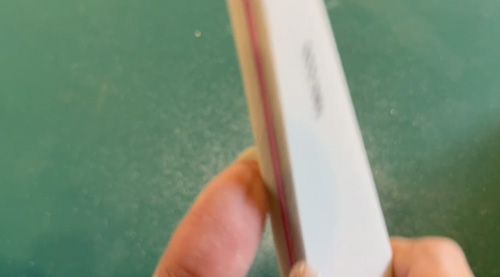
sponge buffer
Polish all fingers with a sponge buffer. Use the image of shaping.
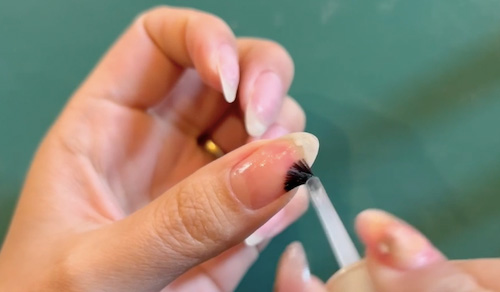
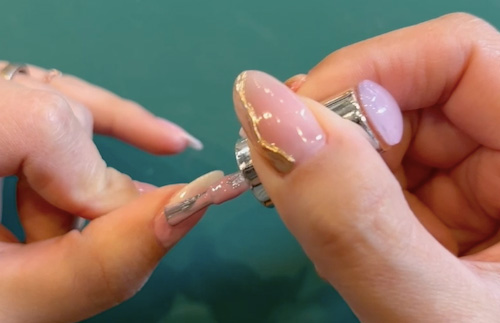
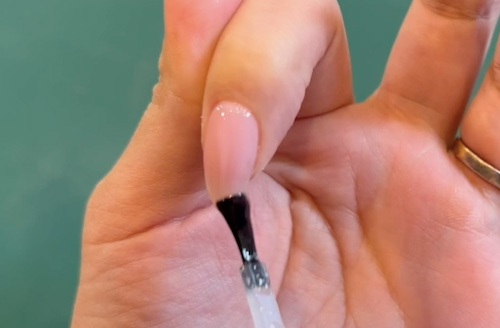
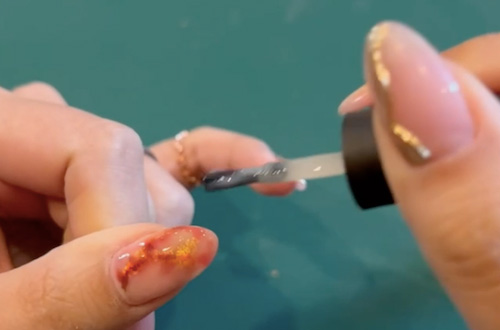
Mirror Powder
Apply non-wipe top gel to the index finger and part of the pinky finger and cure.
Rub mirror powder into the area.
Take a stiff non-wiping gel with a thin brush and place it only on the edge of the mirror powder.
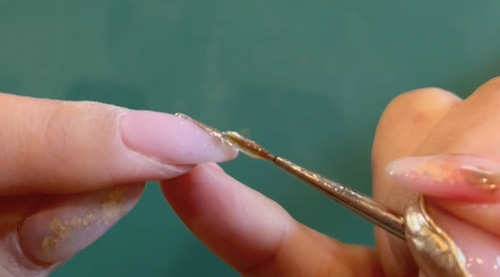
After curing, rub in the mirror powder again.
hard non-wipe recommendations⇓
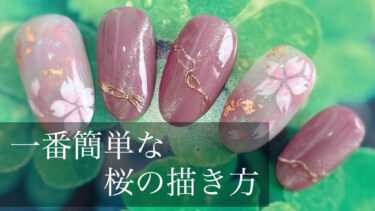
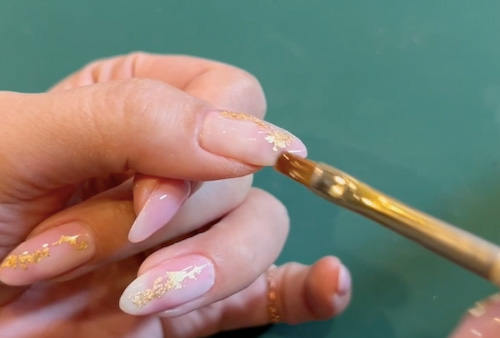
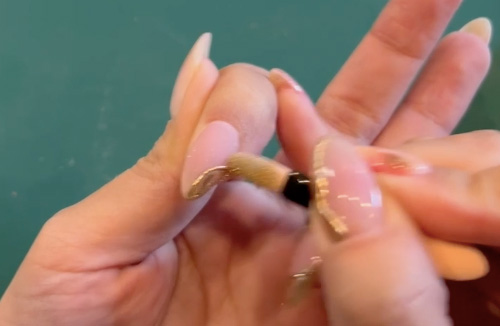
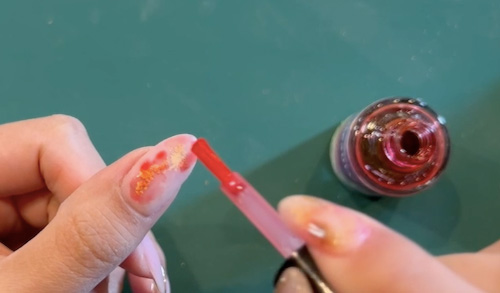
nail ink
Dab nail ink on your thumb, middle finger, and ring finger. First, red.
Then brown.
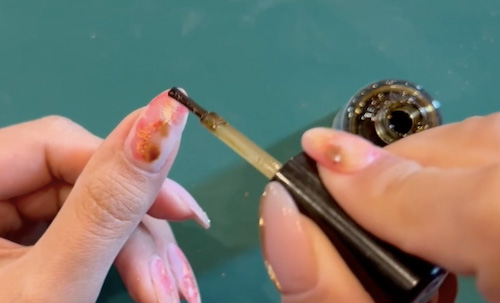
Use clear to blur.
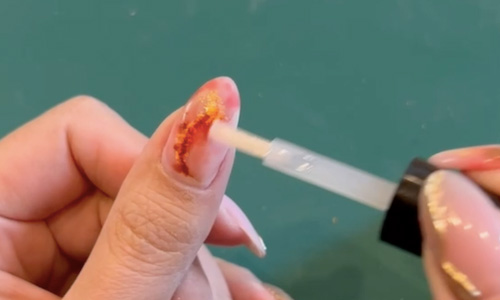
Sheer White
After the nail ink has been dripped and dried, apply a transparent white over the top.
Curing.
Top gel
Finally, apply the non-wiping top gel.
Curing
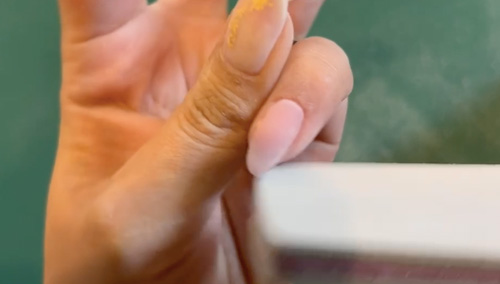
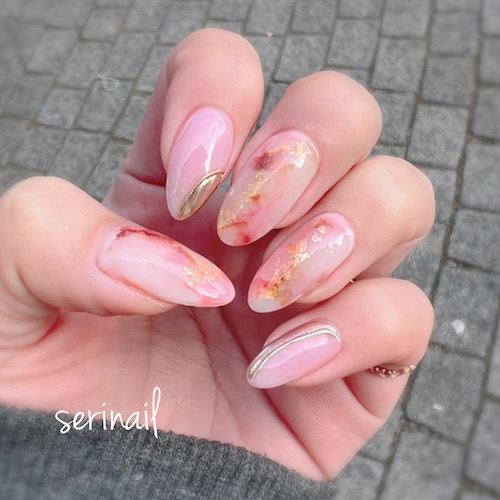
Done!
Now it’s done!
A handsome, transparent color with a spring-like finish.
Check out the YouTube.
This replacement is also available on video. Please have a look at this one too!
I hope this helps with your spring nails!
If you like, please subscribe to my YouTube channel and hit the “good” button!
*This page has been generated through an affiliate program.