
Clay gel is sold by many manufacturers under many different names.
Does it look difficult? Is it hard to handle? But in fact, it’s so easy to use that you can make your nails look great!
In this article, we’ll show you how to use clay gel!
*This blog is written by a manicurist in Japan. The information contained in this article is available in Japan. Please note that it may be different in other countries.
The recommended clay gel is…
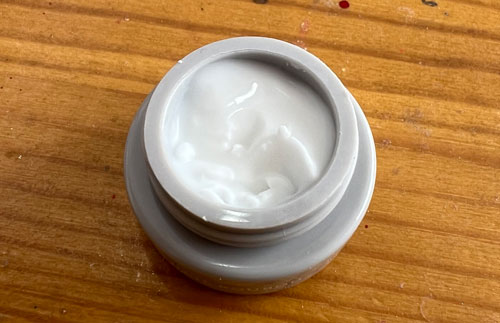
As soon as I started, I bought and used Nail Kobo’s Clay Gel.
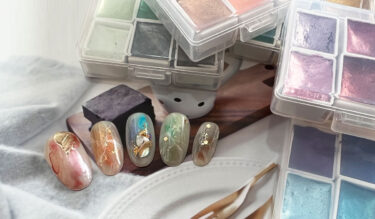
It comes in 72 different colors, but this time I wanted to use it with mirror powder, so I bought white (CA01).

Here’s what it looks like. Pure white!
It’s inexpensive at 398 yen each, and there are no problems using it, so I’d recommend it to anyone who doesn’t have a particular clay gel they want to try or is new to clay gel!
What you need for clay gel
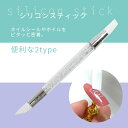
There are several things you need for clay gel, but the first thing that is definitely useful to have is a silicone stick.
I recommend having them ready, because they make it easier to shape the clay gel without it sticking!
Other items needed are as follows.
- Base gel
- Non-wiping top gel
- Color gel of your choice
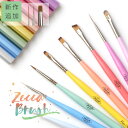
- A thin brush (I use the following “short liner” brush, which is easy to use and highly recommended)
- Mat top gel (useful if you have one, OK if you don’t)
How to Use Clay Gel
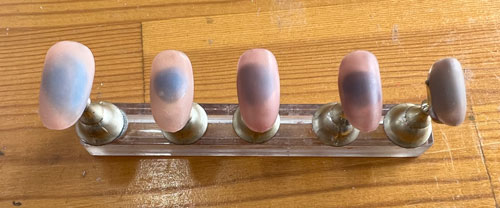
To use Clay Gel, first apply two coats of the base gel and cure.
Then apply the matte top and cure. In this case, I used a sheer color to create a one-tone look.
If you don’t have a matte top, you can finish with a top gel and then use a sponge buffer to remove the surface sheen.
Then it’s time to start the clay gel.
Use a toothpick or wood stick to remove some of the clay gel.
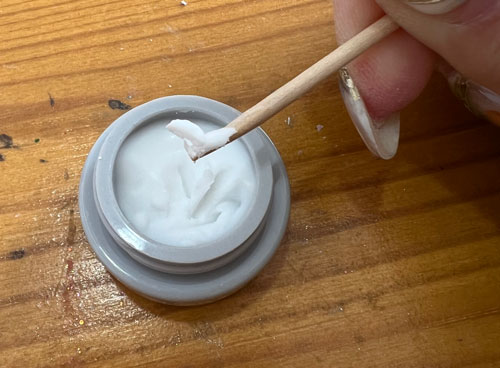
It really feels like clay to the touch.
It doesn’t stick to your fingers and you can mold it into any shape you want.
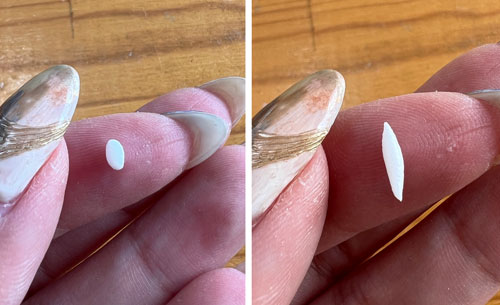
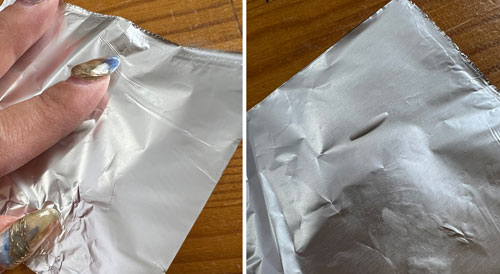
If you want to make it evenly long and thin, roll it around on a piece of aluminum foil.
Gently place the nail on top of the nail so that it doesn’t lose its shape, and then shape it with a silicone stick.
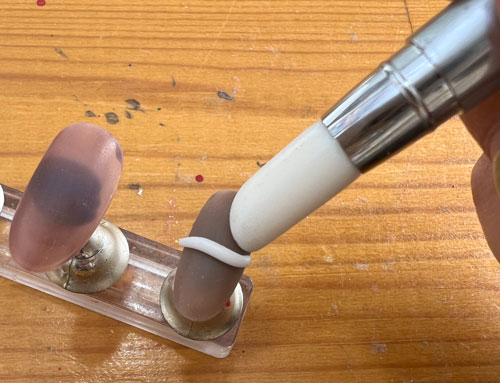
It can easily change its shape, so please be gentle with it.
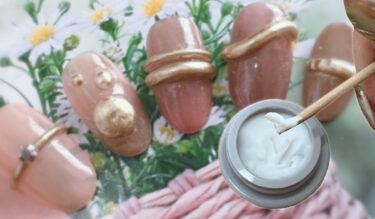
In this case, I used a silicone stick to press the shape from a little above to create the image of a gold ring.
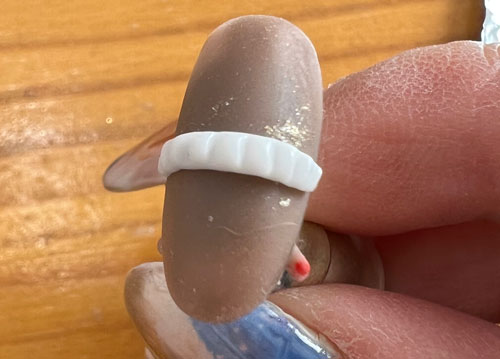
When the shape is formed, cure.
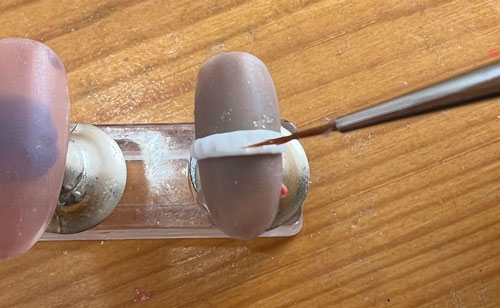
If you want to apply mirror powder, apply a non-wipe top coat afterwards. Use a thin brush and make sure it doesn’t stick out.
After curing, apply the mirror powder. Like this.

Wipe off any mirror powder that may have stuck out, and finish with a coat of non-wiping top gel.
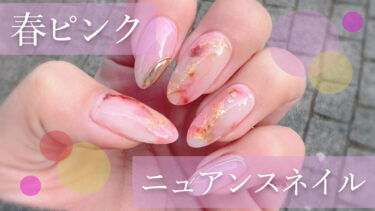
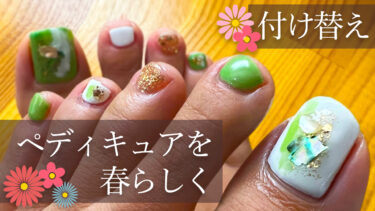
I’ve made many other designs as well⇓

Clay gel makes it easy to embed V-cut stones that are difficult to stabilize.
As I mentioned earlier, clay gel is available in a wide variety of colors.
So, clay gel comes in a wide variety of colors, so you can create characters such as rabbits and bears, or three-dimensional art such as flowers.
It’s as easy to handle as real clay, so please give it a try!
The following video also shows you how to do ring nails using clay gel. Please check it out hands-on.
*This page has been generated through an affiliate program.