
It’s getting warmer and warmer, and spring is almost here.
Cherry blossoms are the most popular nail polish for spring, but it’s hard to get the right balance and draw them well….
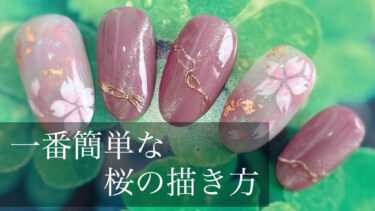
So this time, we’ll show you the easiest way to draw cherry blossoms! Anyone can do it easily, so please check it out!
*This blog is written by a manicurist in Japan. The information contained in this article is available in Japan. Please note that it may be different in other countries.
What you need to paint cherry blossoms
To draw cherry blossoms, you will need three things. These are only necessary for painting cherry blossoms, so please prepare the gel for the base and top gel separately!
Two colored gels
The color gel is used to draw the cherry blossoms themselves, and also to add color to the center. This time I used Cando’s white and Nail Kobo’s “ICE CLEAR” #12!

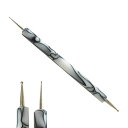
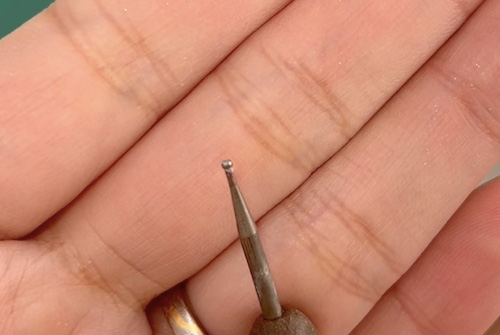
Dot pen
A pen for drawing round dots. If you don’t have one, you can use a toothpick.
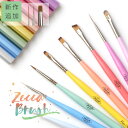
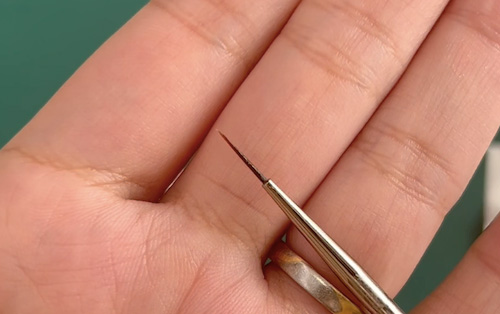
Thin brush
A thin brush for drawing cherry blossoms. I use the following “short liner” brushes.
How to Draw Cherry Blossoms
Now let’s start drawing the cherry blossoms!
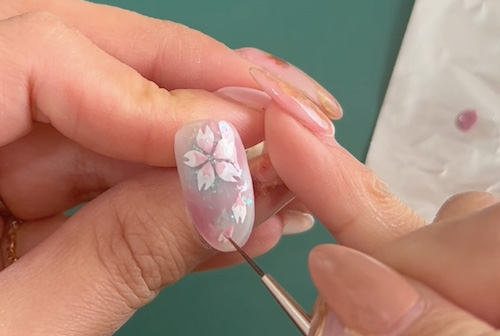
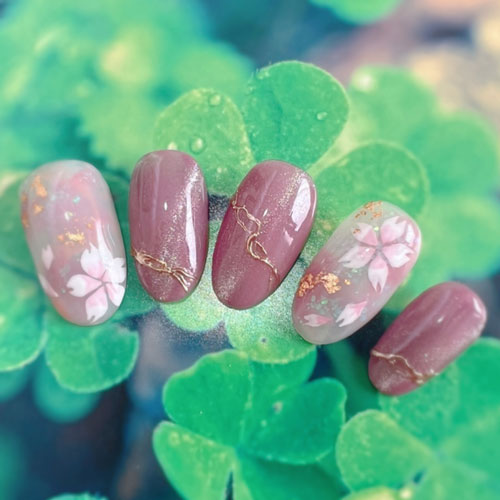
For the base, I used sheer white (a mixture of white and base gel) and the “ICE CLEAR” #12 I mentioned earlier to make it look marbled, and sprinkled with aurora lamé purchased at Daiso.
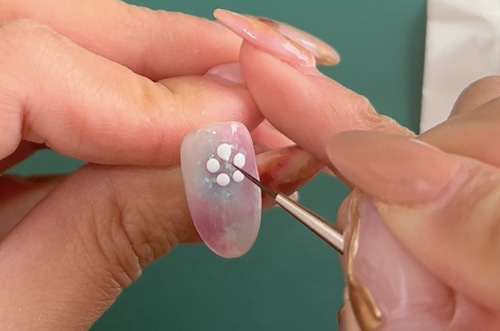
Draw dots with a dot pen.
Take out the dot pen.
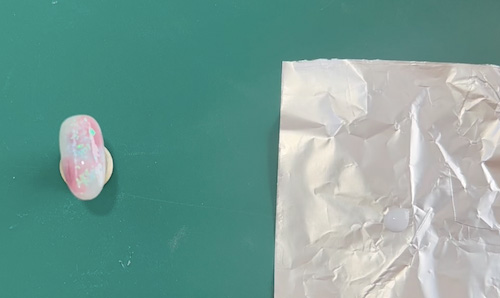
Put a little of white gel out on a piece of aluminum foil and take a dot pen.
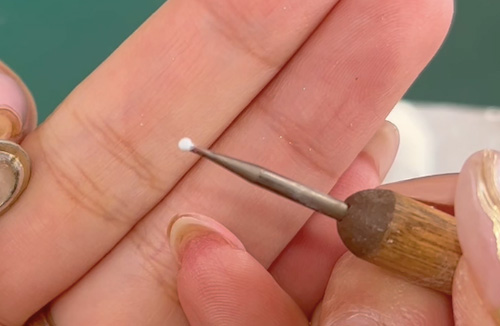
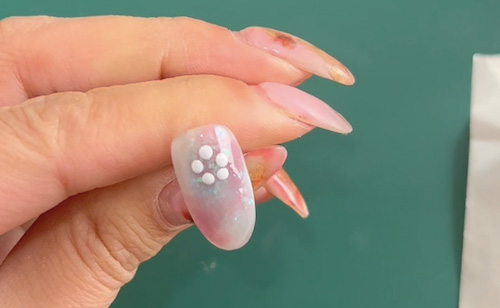
Lower the dot pen from directly above and draw the dots.
Be careful not to stick the dots next to each other, and draw the dots in a balanced manner.
Make the dots teardrop-shaped.
Then, take out a thin brush and
Stretch each dot toward the center to make a teardrop shape.
The five flowers are now ready.
The narrower the space between the dots, the more beautiful it looks, so be careful not to leave too much space between them.
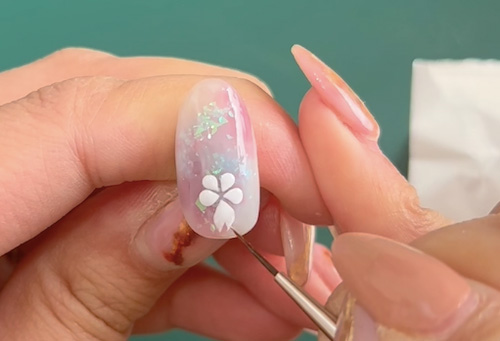
Make petals.
Next, we will stretch the opposite side from the one we just stretched. First, pull on both sides to make the corners grow.
Then fill in the spaces between them. The cherry blossom petals have a slit in between, so make them pointed on both sides like this.
Shape the other dots in the same way.
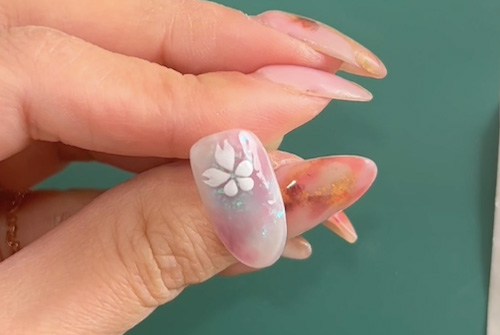
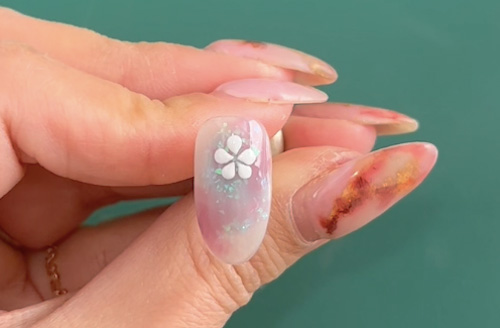
This is what it will look like when it’s all done! It’s cherry blossoms!
Curing is done once here.
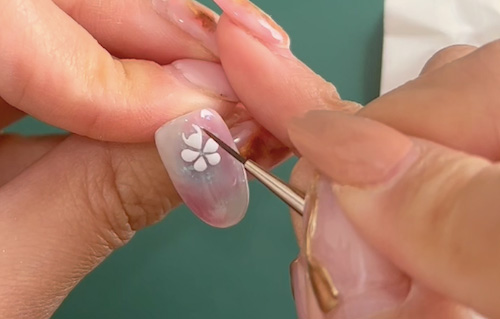
Color the center.
It’s cute as is, but it’ll be even cuter if you add some color to the center!
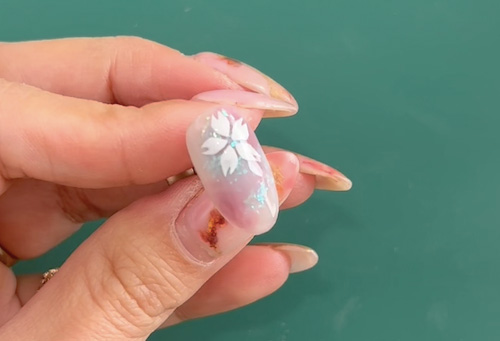
Use “ICE CLEAR” #12 to add a little color to the center.
A little paint on the petals of just one flower is also a good idea.
Here it cures again.
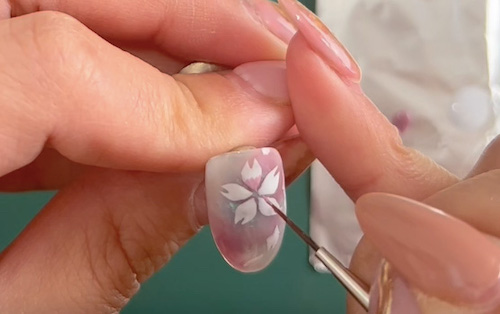
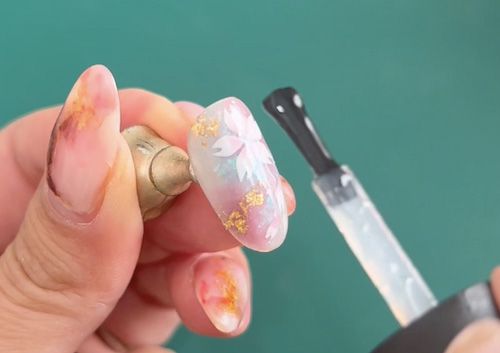
Finish with a coat of top gel.
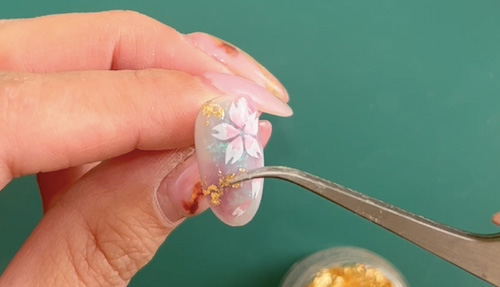
This time I sprinkled gold leaf around it before applying the top gel.
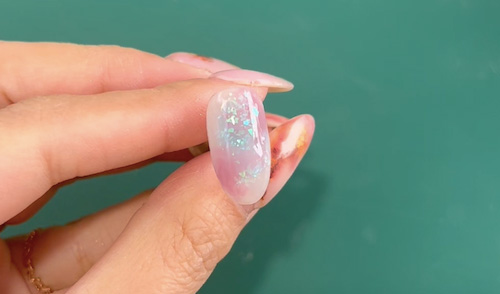
Finally, apply the top gel and cure.
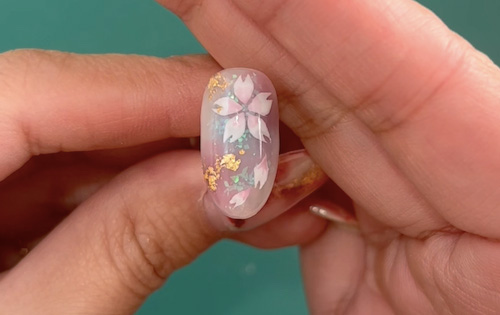
It’s done!
Check out the video.
I’ve also posted a YouTube video on how to draw cherry blossoms. I think it’s easier to understand the brush strokes in the video, so please check it out too!
If you subscribe to my channel, I’ll be happy with tears!
Balance is the key to cherry blossom
That’s why I introduced a simple way to draw cherry blossoms!
Balance is the most important thing when drawing cherry blossoms. Try to keep the balance in mind when you draw the first five dots with the dot pen. I hope this is helpful to you.
*This page has been generated through an affiliate program.