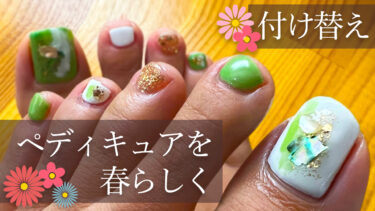
We’ve been seeing a lot of cute and delicate ring nails (also known as “accessory nails”) lately.
So this time, I’ll show you how to do ring nails (also known as accessory nails)! It’s actually very easy, so even beginners can try it out! Please check it out!
*This blog is written by a manicurist in Japan. The information contained in this article is available in Japan. Please note that it may be different in other countries.
What is ring nails (accessory nails)?
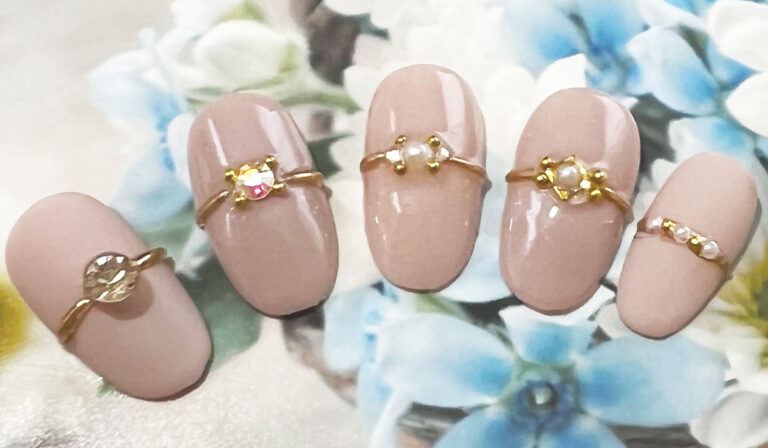
Ring nails (accessory nails) are an art form that imitates a ring-like design.
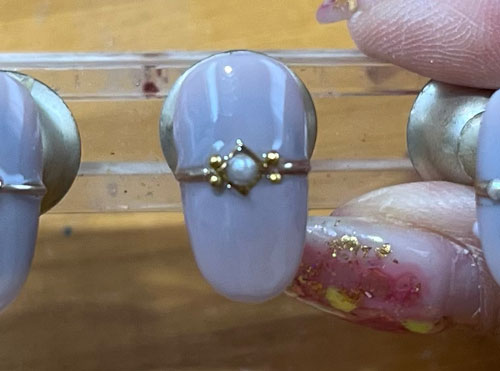
As you can see in the picture below, there are many different ring designs, but the basic commonality is that the ring part is done with mirror nails.
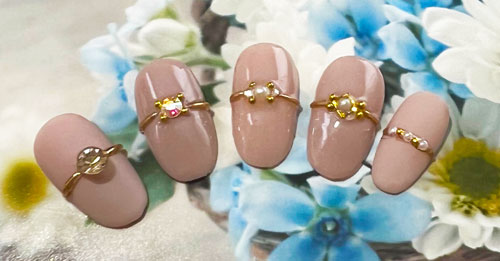
The delicate design is very feminine and cute, so it’s quite popular these days.
So, let’s start with what you need for ring nails (mirror nails)!
What you need for ring nails (accessory nails)
I’ll quickly list the items I need and recommendations if there are any. I’ll introduce each item in detail later in the instructions.
- Base gel
- color gel
- Matte top gel
- Hard clear gel (non-wiping type)
- Mirror powder
- Stones of your choice
- Fine brush
- nail piercer
- Top gel
Now that you know what you need, let’s see how to do ring nails (accessory nails)!
How to do ring nails (accessory nails)
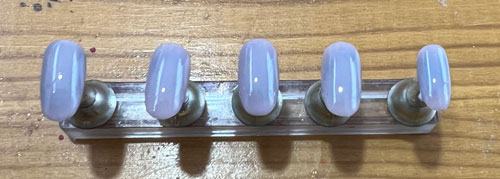
First, after curing the base gel, apply two coats of the color gel of your choice.
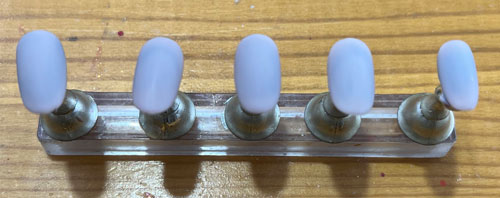
Apply matte top gel and cure.
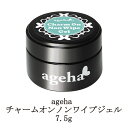
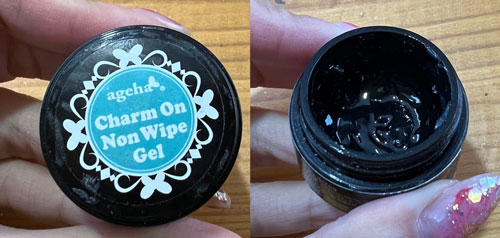
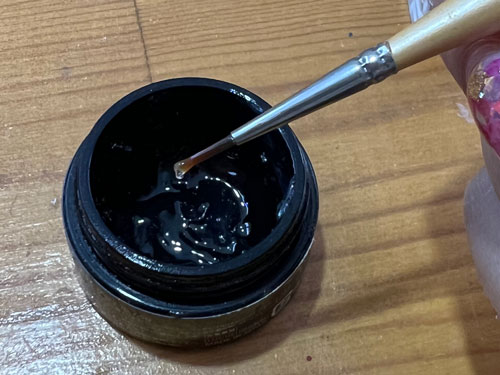
Use a hard, non-wiping clear gel.
I use ageha’s charm on non-wipe gel, but you can use anything.
Take a thin brush and apply gel.
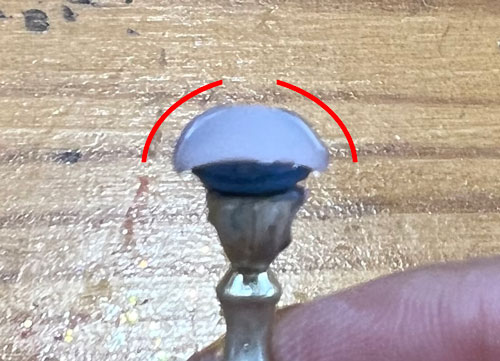
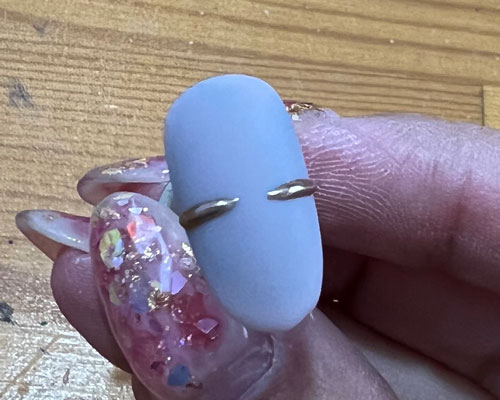
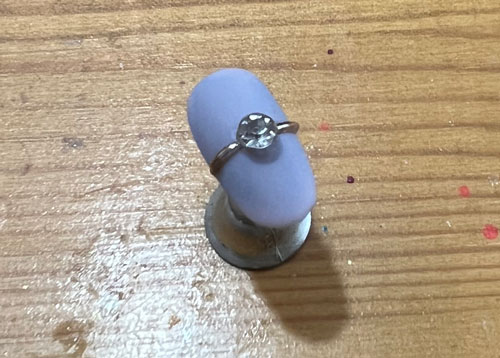
Open the middle and draw a thin line. This is the ring of the nail.
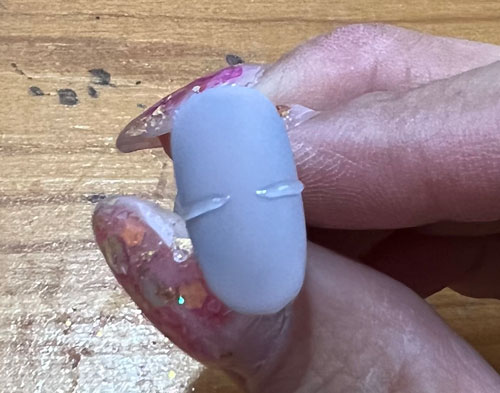
The trick is to make sure that the lines are of a consistent thickness when viewed from above, as well as a consistent height when viewed from the front. This will give you a beautiful look.
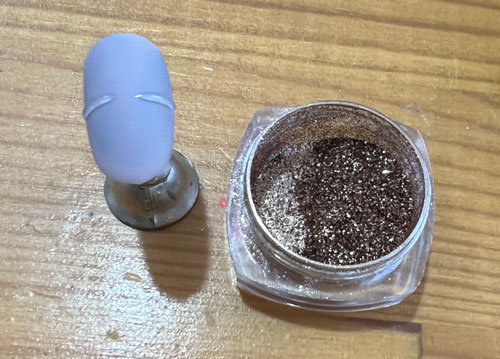
After curing, apply the mirror powder to the surface.
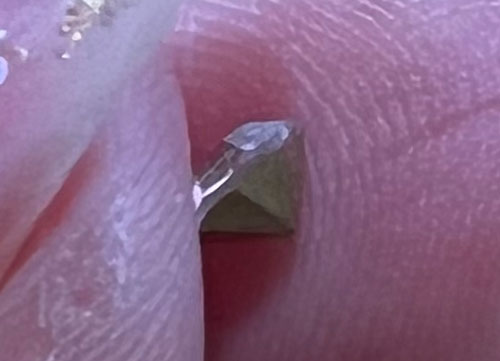
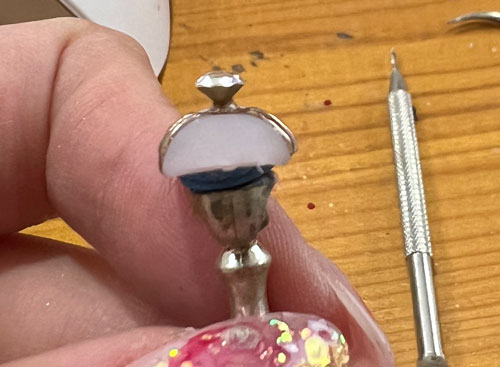
I’m going to start by placing the V-cut stone, which has a sharp tip and will fall over if I leave it there.
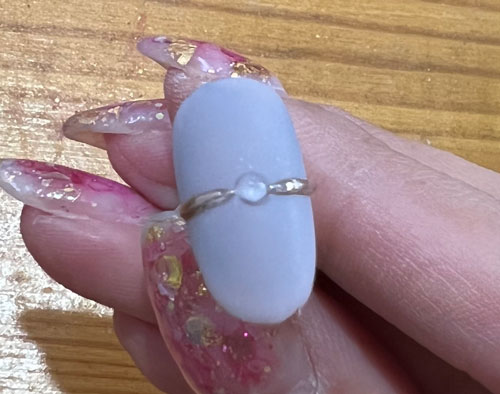
So, place the hard clear gel you just used in the middle. Make sure it has some height. Then cure.
Using a nail piercer, make a hole in the middle so that the tip of the V-cut stone can go in slightly.
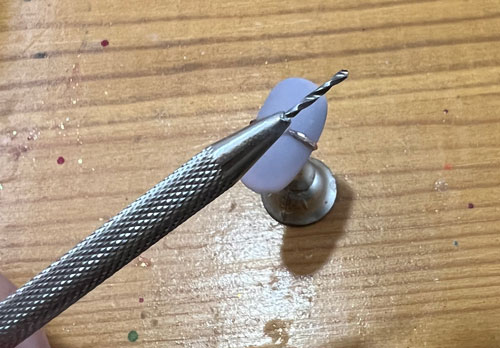
The point is to be able to fix the stone, so the depth does not need to be that deep. Pour glue into the hole and fix the stone in place.
When you’ve fixed them in place, surround them with a hard clear gel to make sure they don’t come off.

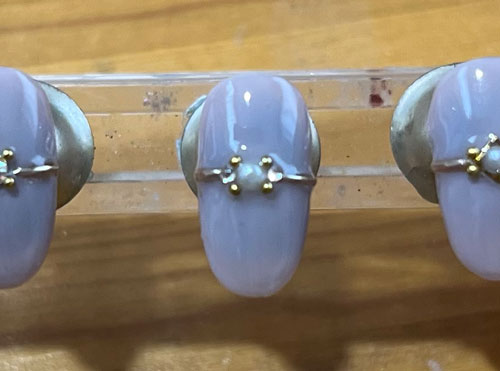
Finally, apply some top gel to the mirror area and you’re done! It’s just so cute and handsome!
If you have a special gel for placing stones (bejeweled gel) or clay gel, you can of course use that to hold the stones in place.
You can also put ordinary stones and brions around them like nails.
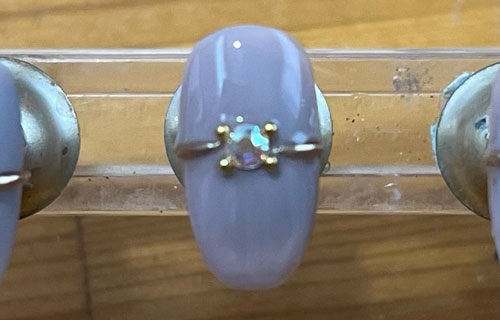
The pearls will also look like ring nails.
There is no rule that says “this stone is the ring nail”, so you can use any stone or part you like.
You can also use pearls and brions alternately, not just in the middle.
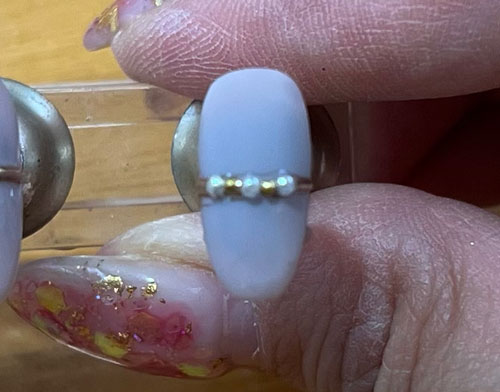
The ring nails (accessory nails) look cute with either a matte or top finish.
As long as you have the necessary items, it’s very easy, so please give it a try!
*This page has been generated through an affiliate program.