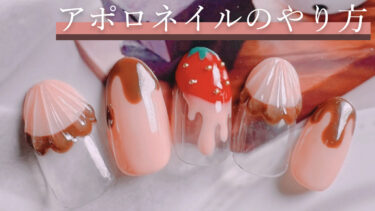
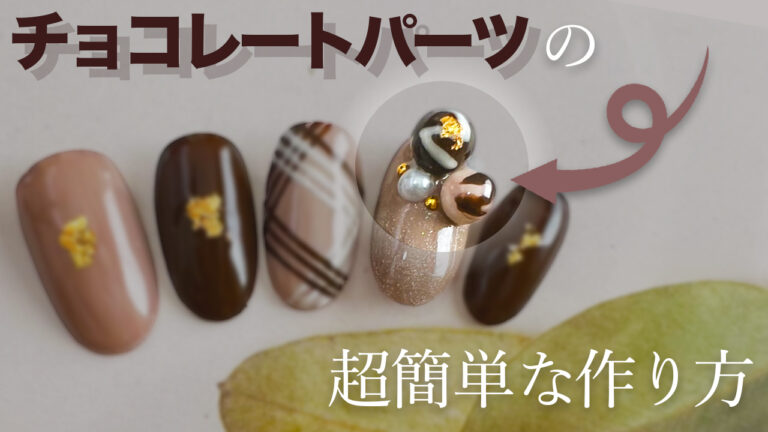
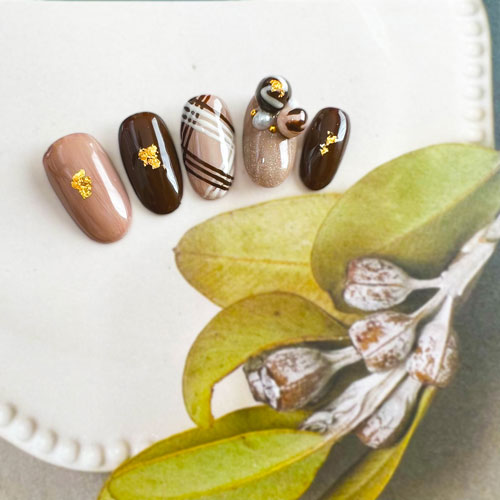
When it comes to Valentine’s Day nails, designs that resemble chocolate are popular, but this time I’d like to show you how to make chocolate parts that resemble chocolate in three dimensions!
It may look a little difficult, but it’s actually quite easy. It may look a little difficult to make, but it’s actually very easy. You may think it looks a little difficult, but it’s actually quite easy, so please try it as a reference for your Valentine’s Day nails.
*This blog is written by a manicurist in Japan. The information contained in this article is available in Japan. Please note that it may be different in other countries.
What you will need to make chocolate parts
First, let’s look at what you need to make the chocolate parts.
Clay gel
Clay gel can be used to create clay-like shapes. You can use any clay gel, but I used this clay gel this time.
It’s inexpensive and the quality is good enough.

toothpick
One bottle is all you need.
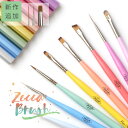
Nail brushes
Use it for coloring. It is convenient to have a regular square type and a thin brush for drawing patterns.
With the following brushes, you only need the square type and the short liner type.
colored gel
Since it is a chocolate part, basically brown or white would be good, but it is your choice. If you want strawberry chocolate, pink might be good.
This time I used gel from Seria.

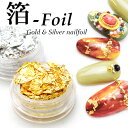
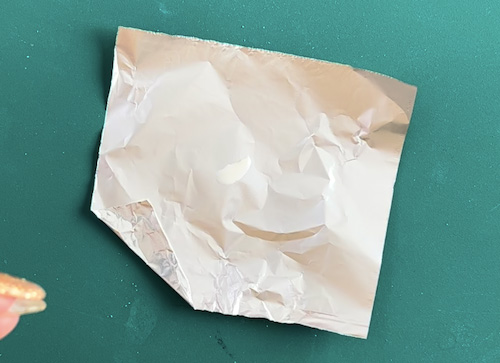
Nail foil (gold leaf)
It may be useful to have it to give the chocolate parts a luxurious look. You don’t need it.
How to make chocolate parts
Now let’s see how to make the chocolate parts!
Modeling the clay gel into a round shape
First, take out a small amount of clay gel using a toothpick, and shape it into a round shape.
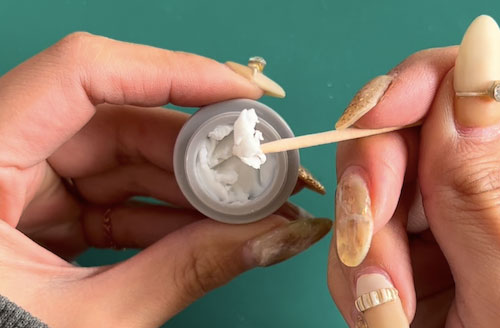
Knead it with your fingers to form it into a round shape.
Once the shape has been achieved, stick a toothpick into it to make it easier to work with.
When the shape is ready, harden it once.
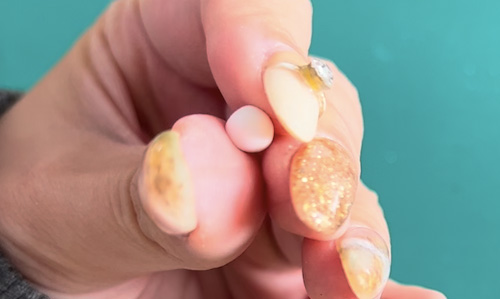
Add color
After curing, apply the color. If you are using a container type gel, you can just dip it into the water.
You can even paint her with a brush!
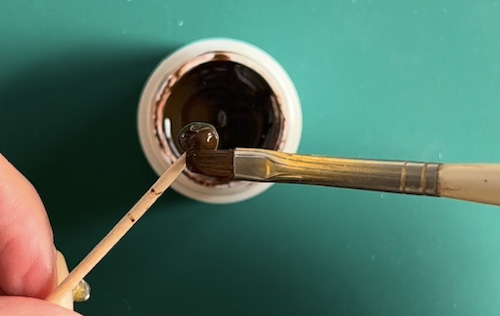
Once the color is applied, let it harden. If the color seems too light the first time, you can apply two coats.
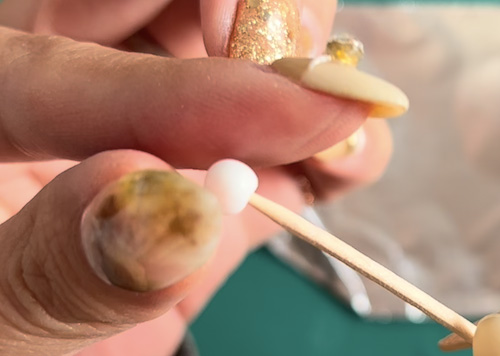
Draw the pattern.
Let’s draw the pattern. I’m sorry it’s a little hard to see, but we’re going to put a little white gel on the foil.
Use a fine brush to draw the pattern.
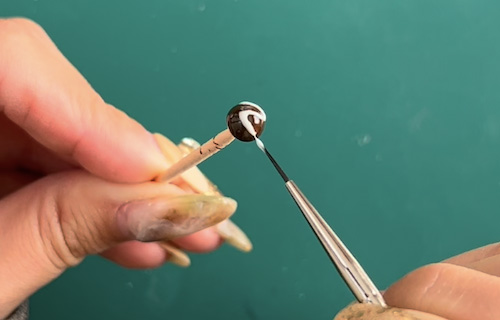
This is a preference, so you can add a pattern or not, and of course you can use a different pattern.
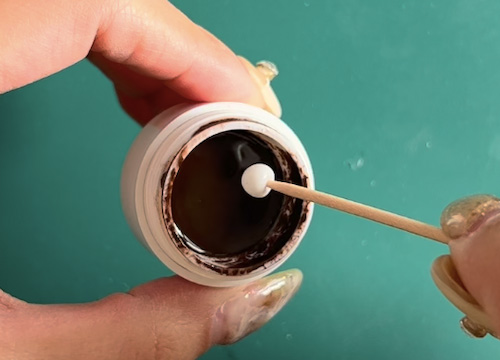
Finally, put nail foil (gold leaf) on top and harden.
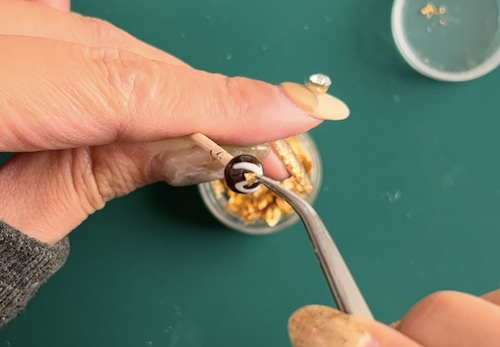
Finish by applying the top gel.
Finally, apply the top gel, cure, and you’re done!

It’s so easy!
You can make them in different colors and put them on top of each other for a handsome look.
How to make chocolate parts is also shown in the YouTube
How to make chocolate parts is also introduced in YouTube. Please check this one out too!
Chocolate parts are perfect for Valentine’s Day nails!
Chocolate parts are very easy to make. Please try making them for your Valentine’s Day nails!
*This page has been generated through an affiliate program.